I don't know about you but I LOVE cheese. Brie is one of my very, very favorite cheeses so when Ile de France offered to send me some brie, I obviously said YES PLEASE!! I love brie spread on toasted seeded baguette slices, which is how I normally eat it, but this time I wanted to be a little more creative. Since I also love eggs I decided to make a frittata to combine my two favorites. I found some ham and fingerling potatoes in the fridge as well as chives and grape tomatoes so I threw them all together and made the most delicious frittata. I loved the little pockets of melted brie - it was so creamy and delicious without being too rich. I have to say, I really, REALLY loved the flavor of this brie. It truly was the star of the frittata. I had leftovers the following day and it was just as tasty.
Brie, Ham, Potato, Chive, and Tomato Frittata:
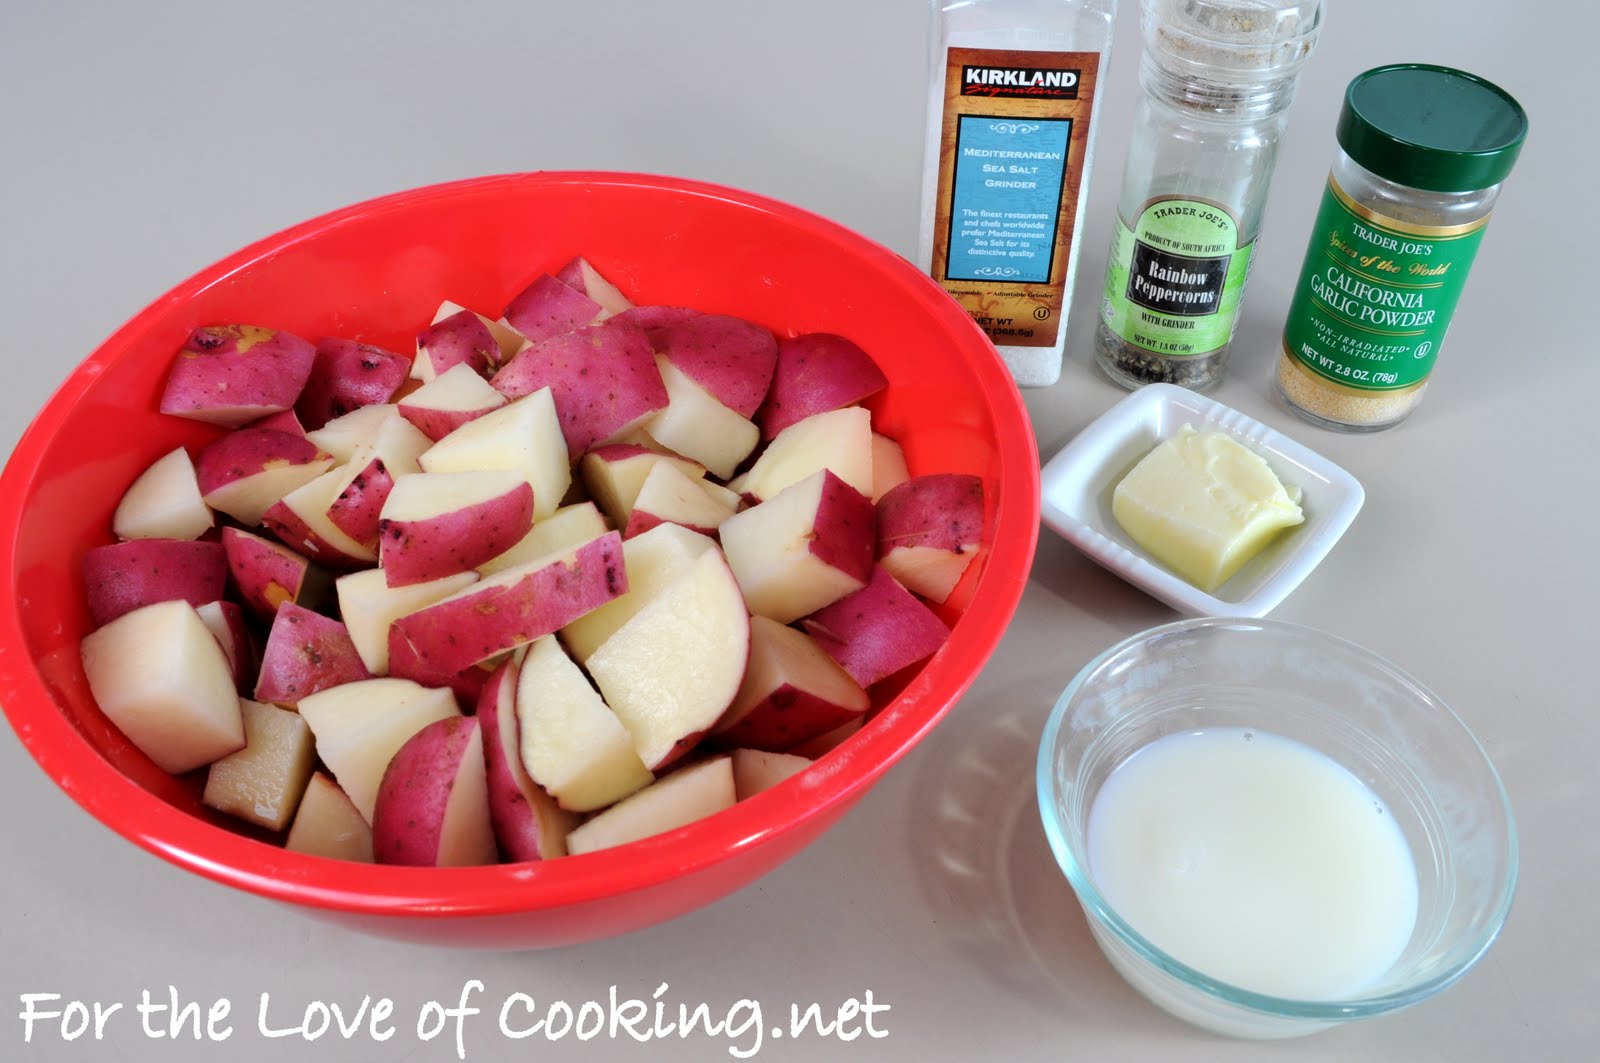
Recipe and photos by For the Love of Cooking.net
- 1/2 a wedge of Brie, cut into small chunks
- 5 slices of Canadian bacon or ham, diced
- 7-8 baby baby fingerling potatoes
- Handful of grape tomatoes
- 1 tbsp chopped chives
- 7-8 eggs
- 3 tbsp milk
- Sea salt and freshly cracked pepper, to taste

Preheat the oven to 350 degrees. Coat a tart pan with cooking spray.
Boil the potatoes in a pot of water for 10 minutes or until fork tender. Drain and let cool. Chop the potatoes into small bite sized chunks.
Place some of the ham and bits of brie into the bottom of the tart pan; next add some potatoes, some tomatoes, and chopped chives. Combine the eggs with the milk then season with sea salt and freshly cracked pepper, to taste. Whisk the eggs until they are mixed thoroughly. Pour the egg mixture into the tart pan then add the remaining ham, brie, potatoes, tomatoes, and chives to the top.

Place into the oven and bake for 25-30 minutes, or until a tester inserted in the center comes out clean. Let the frittata cool for a few minutes before slicing and serving. Enjoy.

Click here for a printable version of this recipe - For the Love of Cooking.net
GIVEAWAY:
**WINNER SELECTED - GIVEAWAY CLOSED**
The generous folks at Ile de France have offered one of my lucky readers a beautiful gift basket to be sent to them which includes a cheese board, dome, cheese knife and various cheeses. How sweet is that?
All you have to do to win is comment on this post. If you comment anonymously, make sure to leave a name so I have someone to contact if you win.
Be sure to check out Ile de France's website to see all of their amazing products, "Like" their Facebook page, and check them out on their Twitter page.
The giveaway ends on Sunday, October 2, 2011 at 7:00 Pacific Standard Time. Good luck!!!